After messing around with a few types of heat reuse setups, my favorite is still the humble single board S19 loki rig. These are relatively easy to make and there are a few different styles which are ever evolving. I like that they can be functional art and they’re simple for the uninitiated to plug in and understand (“its a space heater that pays you”).
Being single board units lets you spread the hashrate around to different existing circuits in your home so you balance power usage and heat and adding a wifi plug lets you schedule runtime (or get even fancier and automate with a thermostat/homeassistant/etc.).
Main components for each build:
- S19 hashboard (I usually use JPros)
- APW3++ power supply (or APW7 for slightly less performance)
- Power supply cables (4 AWG battery cables)
- Loki chip
- Control board
- Enclosure
- Fans
- Wifi Bridge
- wifi plug (optional but makes it easy to schedule on/off)
Mineforheat.com Aluminum
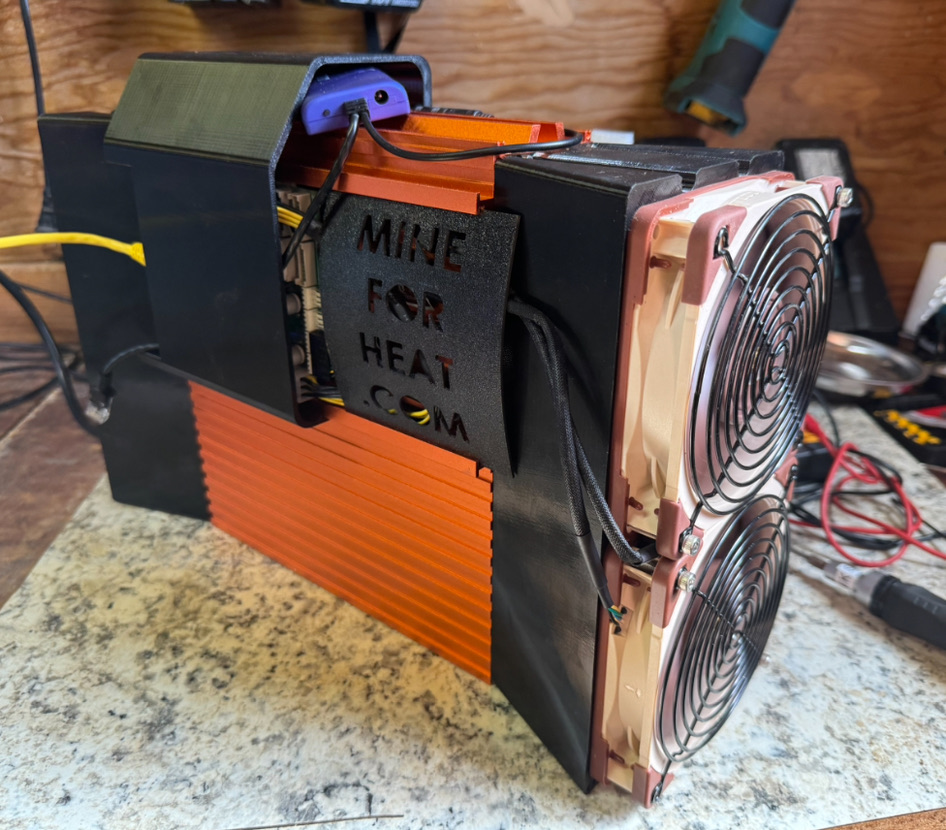
This was my first build, using the mineforheat.com aluminum case and noctua fans. This enclosure is the best all around in terms of performance and noise in my experience. Fans are a little expensive and weak but very quiet. They are just powerful enough to cool at the settings where the chips start to be voltage-starved.
“Stackedtoshi” s19

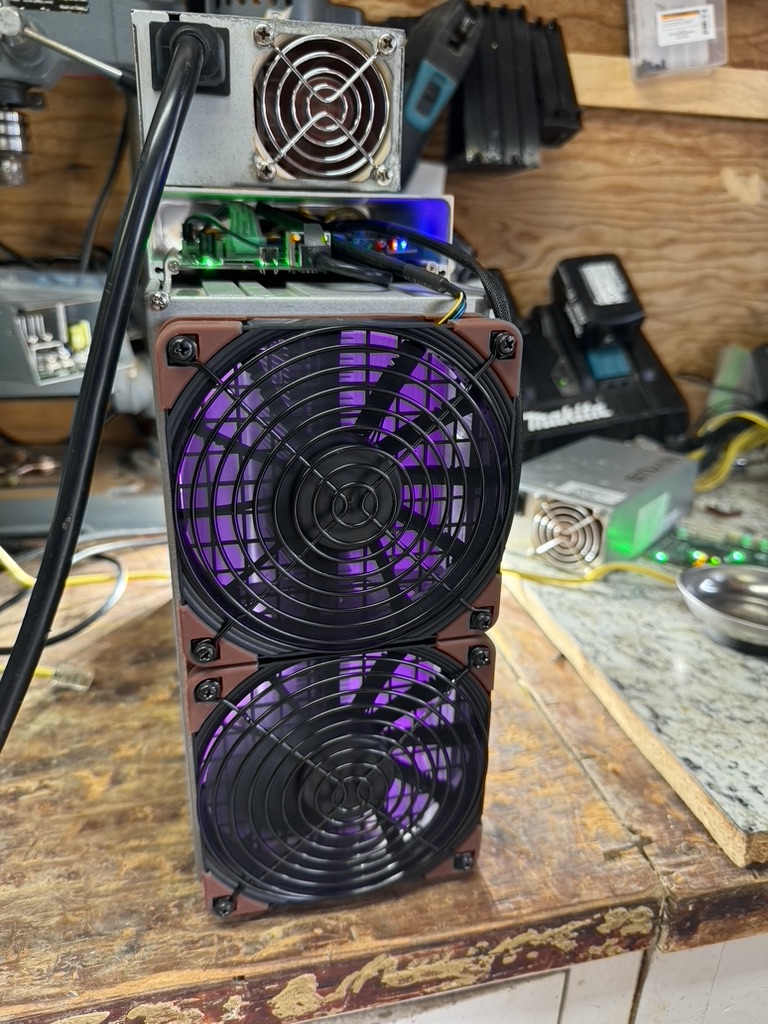
This build uses two 3000rpm noctua fans and the stock s19 enclosure. It also has two printed air baffles to direct the air over the single board. It’s louder than a 4 fan setup but still acceptable levels in our office. The psu also has a quiet noctua fan installed. The PSU fans are small so the high pitch needs to be managed. You can also quiet these using an inline resistor on the stock fan which is a lot cheaper than a noctua.
Printed mineforheat
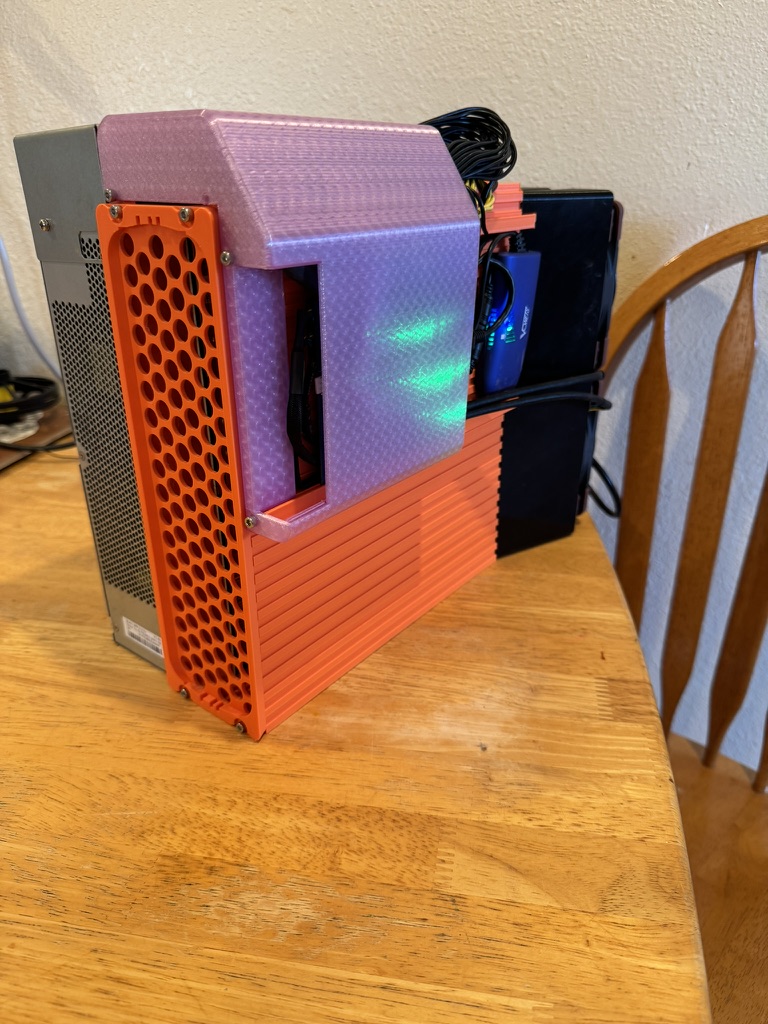
Same as the aluminum mineforheat case except 3d printed with PETG. Also uses the S19 power supply modified for 120v power. I’ve since added 2 more fans to this one for noise reduction but wanted to play around with a more “compact” setup when I took this photo. Using the APW12 also lets you push hashrate farther provided you have enough cooling.
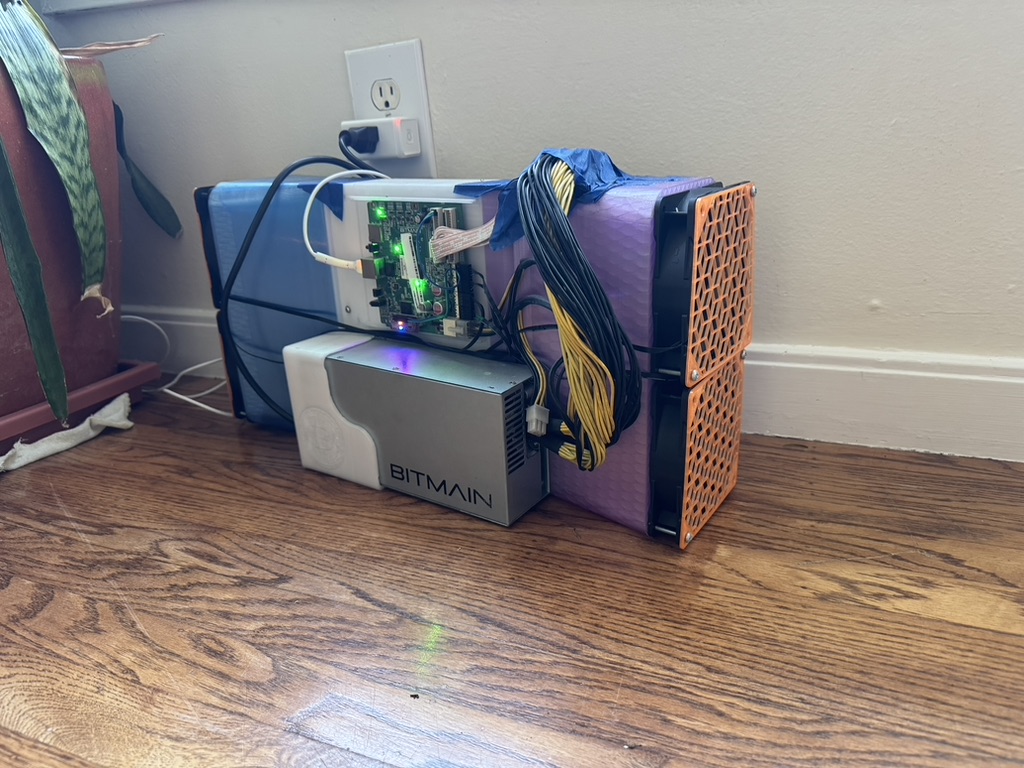
Another printed mineforheat
I started using Arctic P12max fans here as well as printed TPU gaskets for the fans. These give a good balance of noise/price/performance and are what I like to typically use. I like the translucent PETG since you can use the infill pattern to add some artistic stylings.
Minimaloki
This is the minimaloki design from https://nakamotomining.com. Works similar to the mineforheat enclosure but was a little harder to work with in terms of getting the wiring to fit. I used the stock black and yellow PSU wires and added ring terminals instead of using battery cables like in the other builds.
Princess miner
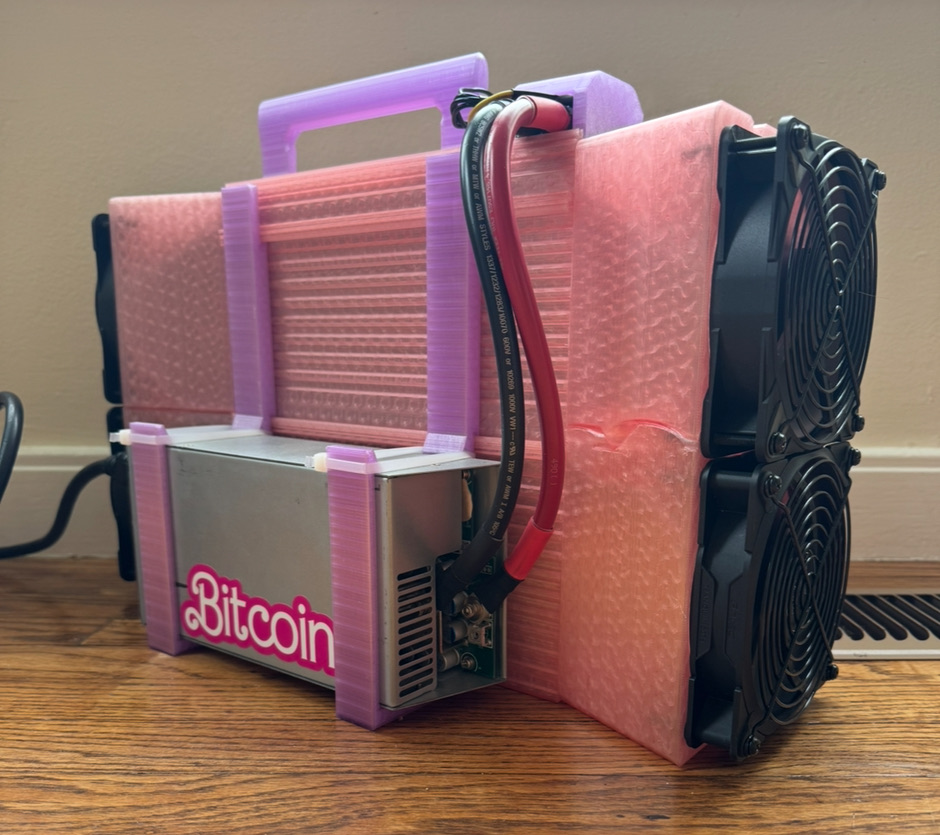
My favorite build so far is the princess. The carry handle is super useful.
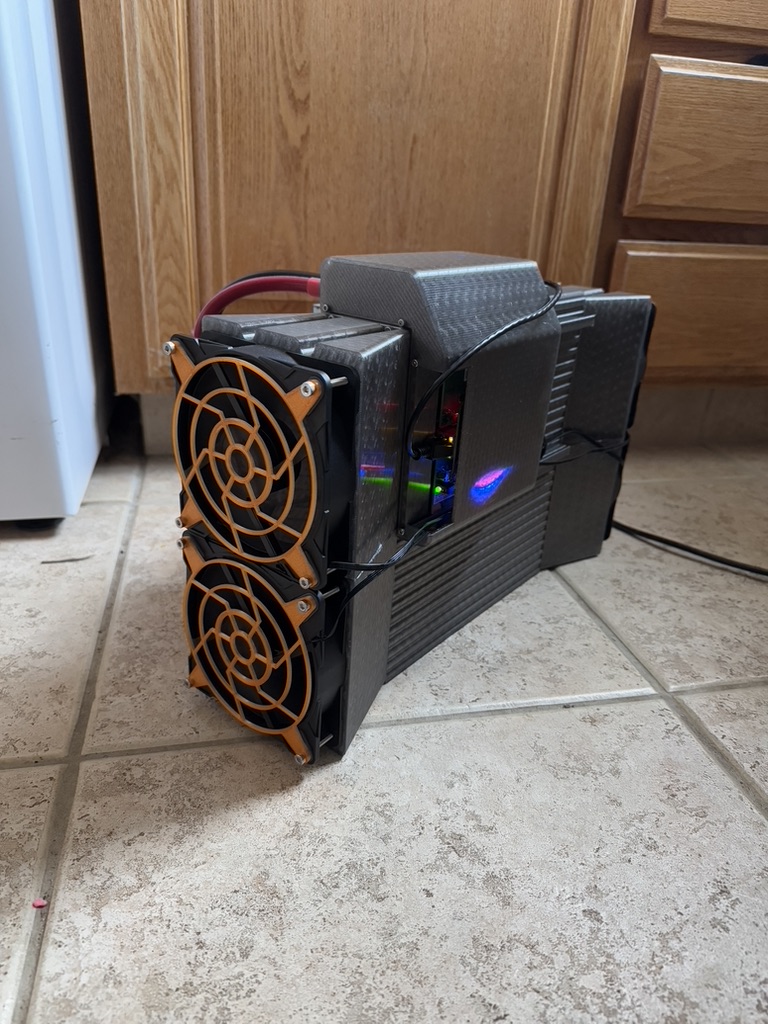
Hunting cabin edition
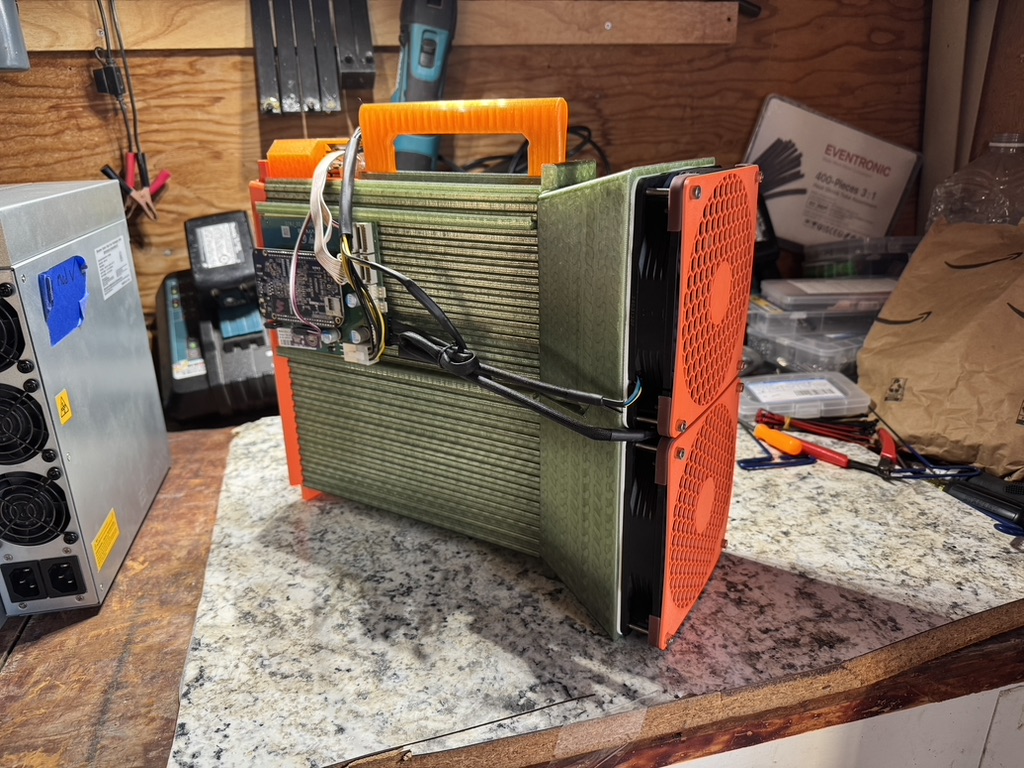
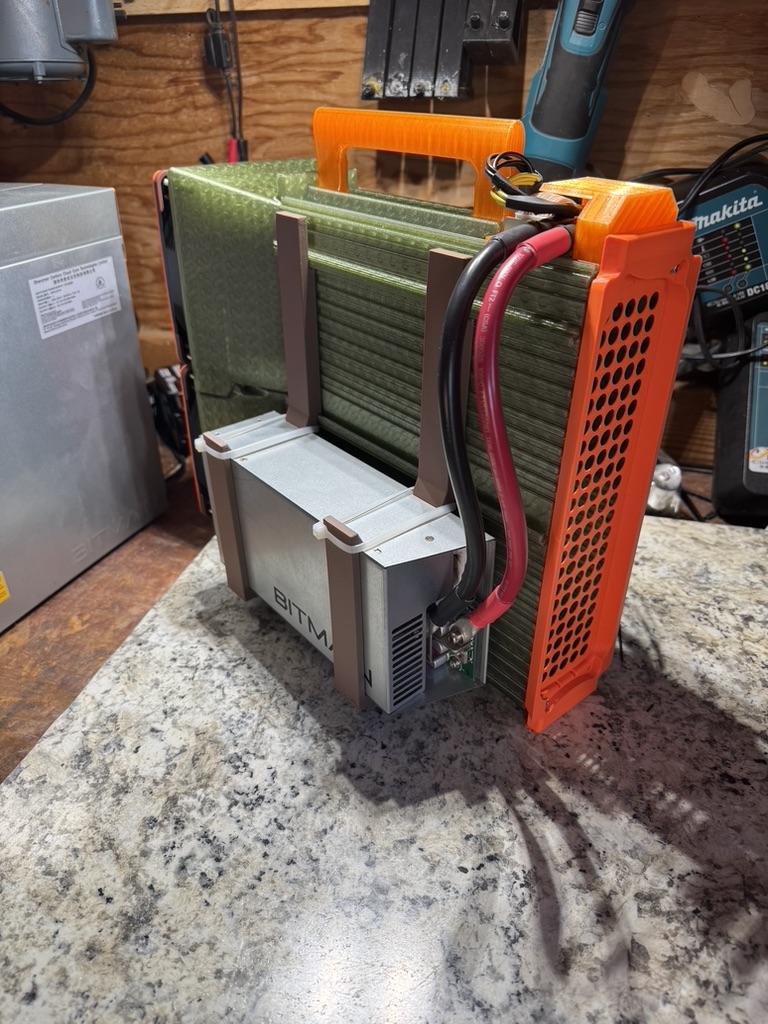
This one uses two 140mm fans in another attempt to make a more compact rig. It’s louder than a 4 fan but quieter than a dual 120mm fan setup.
I’ll post more rigs once i get some more photos.
Would love to see other peoples loki builds.